Connect to S3 authenticating with Google Cloud
Use Google Cloud to authenticate with S3 by configuring as an OpenID Connect (OIDC) Identity Provider in AWS IAM.
Tip
Refer to Custom connection profile using OpenID Connect provider and AssumeRoleWithWebIdentity STS API for custom configuration of connection profiles using OIDC web identity federation to connect to AWS S3.
Configuration in Google Cloud Console
Create an OAuth application in the Google Cloud Console and configure it as an OIDC Identity Provider.
Setup a Custom OAuth Client ID Tutorial
Follow the step-by-step instructions to Setup a Custom OAuth Client ID for Google.
Navigate to Solutions → All products → Management → Google Auth Platform → Clients in the Google Cloud Console and choose Create client → OAuth client ID.
Select iOS as the application type.
Important
Other types require a OAuth Client Secret and do not allow for a supported redirect URI.
Enter
io.cyberduckfor use with Cyberduck orio.mountainduckto use with Mountain Duck for the Bundle ID.Copy the OAuth Client ID from the credentials screen.
Configuration in AWS IAM
Create an OIDC identity provider
Tip
Google is already built-in to AWS as a trusted OIDC identity provider. Instead of using a ARN you can reference the built-in Google IdP in a role with accounts.google.com.
Create a role
Assign a role to the identity provider created in the previous step with permissions to access S3.
In AWS IAM console, choose Create Role in Roles.
Select Web identity as the trusted entity type.
Select Google as the Identity Provider.
Enter the OAuth Client ID from the application registration in Google Cloud Console for Audience.
The resulting trust policy will look similar to the following:
{
"Version": "2012-10-17",
"Statement": [
    {
        "Effect": "Allow",
        "Principal": {
            "Federated": "accounts.google.com"
        },
        "Action": "sts:AssumeRoleWithWebIdentity",
        "Condition": {
            "StringEquals": {
                "accounts.google.com:aud": "<OAuth Client ID>.apps.googleusercontent.com"
            }
        }
    }
]
}
In the next step attach a permission policy to the role such as the managed policy
AmazonS3FullAccess.Copy the Role ARN from the Summary tab.
Create a bookmark in Cyberduck or Mountain Duck
Open Preferences… → Profiles in Cyberduck or Mountain Duck.
Enable the AWS S3 (Google OpenID Connect) connection profile.
Add a new Bookmark in Cyberduck or Mountain Duck and choose AWS S3 (Google OpenID Connect) in the protocol dropdown.
Enter the OAuth Client ID from the application registration in Google Cloud Console for OAuth Client ID when prompted. It will be saved in the bookmark as a custom property.
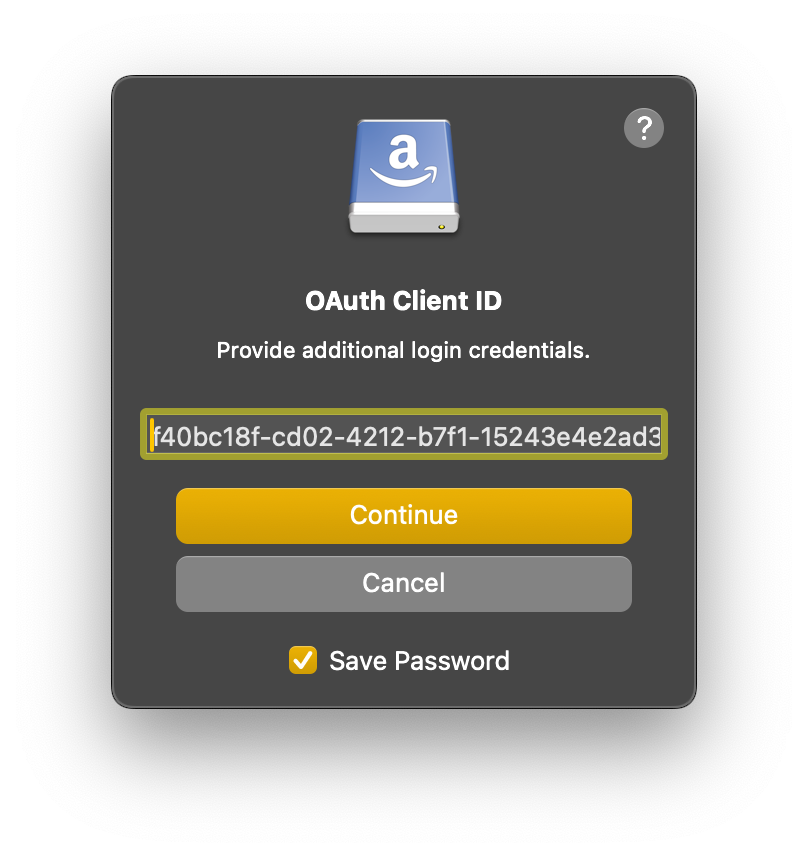
Tip
The OAuth Client ID is the same as the OAuth Client ID from the application registration in Google Cloud Console with the
.apps.googleusercontent.comsuffix.Note
Alternatively set
OAuth Client IDin a custom connection profile.Enter the Role ARN from the previous step when prompted. It will be saved in the bookmark as a custom property.
Note
Alternatively set
role_arnas a custom property in a custom connection profile.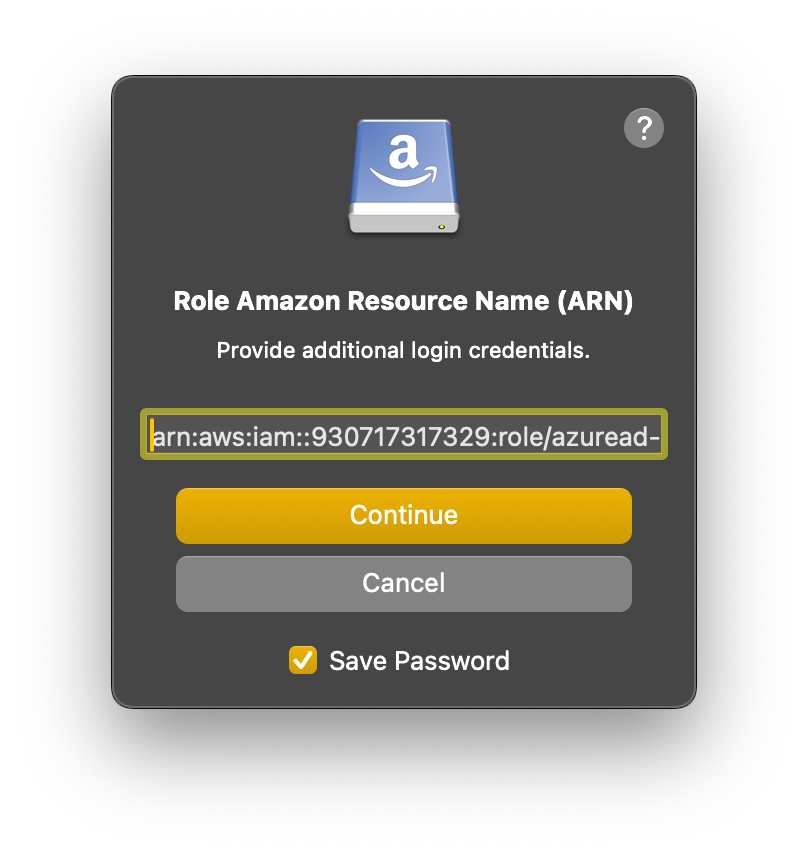
Troubleshooting
Not authorized to perform sts:AssumeRoleWithWebIdentity
Validate the Trusted entities in Trust relationships in the IAM console.
Request ARN is invalid
The role ARN entered is not valid.
The security token included in the request is invalid
Invalid client token ID. Check the OAuth Client ID in the connection profile.