Connect to S3 authenticating with AWS IAM Identity Center
AWS IAM Identity Center (successor to AWS Single Sign-On) centrally manages access to multiple AWS accounts. It enables users to sign in once using their existing corporate credentials (such as Okta or Microsoft Entra ID) to access authorized resources like S3 via short-lived credentials. Use AWS IAM Identity Center to authenticate with S3 by configuring as an OpenID Connect (OIDC) Identity Provider in AWS IAM.
The AWS IAM Identity Center OpenID Connect (OIDC) web service is used to authenticate users with AWS IAM Identity Center.
Configuration in AWS IAM Identity Center
In AWS IAM Identity Center Console choose to Enable IAM Identity Center in a dedicated region.
Follow the documentation Getting started with IAM Identity Center. Optionally customize AWS access portal URL in Settings → Identity source → Actions → Customize AWS access portal and configure a custom external identity provider (IdP) to manage users and groups by following the documentation such as Microsoft Entra ID.
Copy the following values or alternatively setup your configuration with AWS CLI:
Required Configuration Values
Account ID identifying your AWS account from the top right corner of the AWS console.
Region from Dashboard → Settings summary → Region
SSO start URL from Dashboard → Settings summary → Issuer URL or AWS access portal URL → Dual-stack.
Tip
Users can copy the SSO start URL from the AWS access portal page at Accounts → Access keys → AWS IAM Identity Center credentials (Recommended).
Create a permission set to limit access for users to S3 in Permission sets → Create permission set.
Choose Custom permission set in Select permission set type and select Next.
Expand AWS managed policies and select AmazonS3FullAccess or AmazonS3ReadOnlyAccess and optionally CloudFrontFullAccess managed policies and select Next.
Name the permission set and select Next.
Select Create and copy the Permission set name from General settings.
Setup Users and Groups
Tip
Alternatively attach a custom identity source in Settings → Identity source. You will manage all users and groups in an external identity provider (IdP).
Choose Users → Add user and create a user with a password.
The user must login to the AWS access portal URL
awsapps.com/startwith the username and one-time password.Assign a AWS account to the user in Users → Username → AWS accounts → Assign accounts.
Select the AWS Organization and assign the previously created Permission Set and select Assign.
Create a bookmark in Cyberduck or Mountain Duck
Add a new Bookmark in Cyberduck or Mountain Duck and choose AWS S3 (IAM Identity Center) in the protocol dropdown.
Choose Connect and select the AWS CLI profile name when prompted.
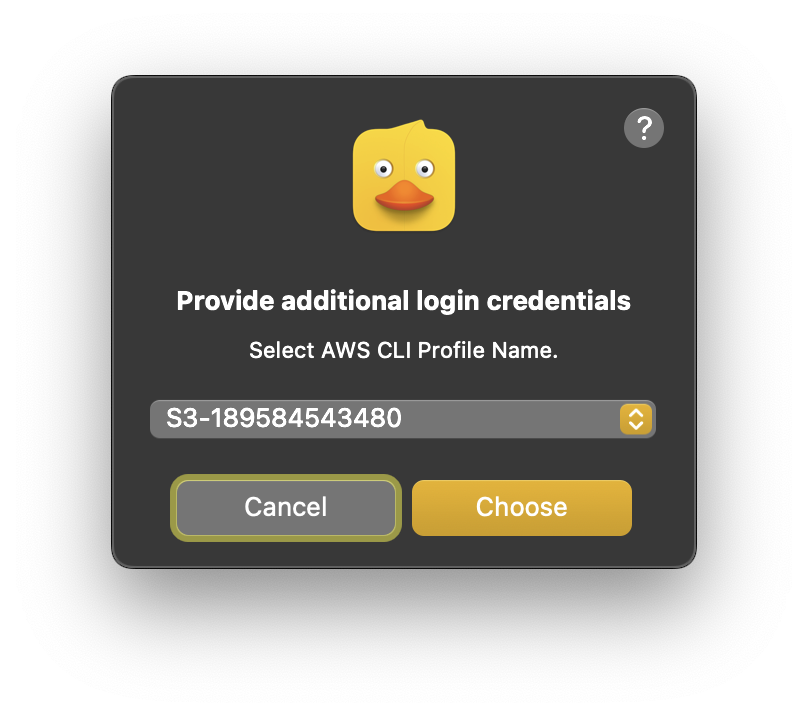
Tip
Choose Cancel to skip configuration from the AWS CLI profile and continue with manual configuration.
Using AWS CLI Configuration
Pre-configure the settings using AWS CLI to allow reading configuration options from the
~/aws/configfile including the Issuer URL.Obtain your IAM Identity Center configuration information.
Install the AWS CLI
Configure your profile with the
aws configure ssowizard using the command line:$ aws configure sso SSO session name (Recommended): my-sso SSO start URL [None]: https://my-sso-portal.awsapps.com/start SSO region [None]: us-east-1 SSO registration scopes [None]: sso:account:access
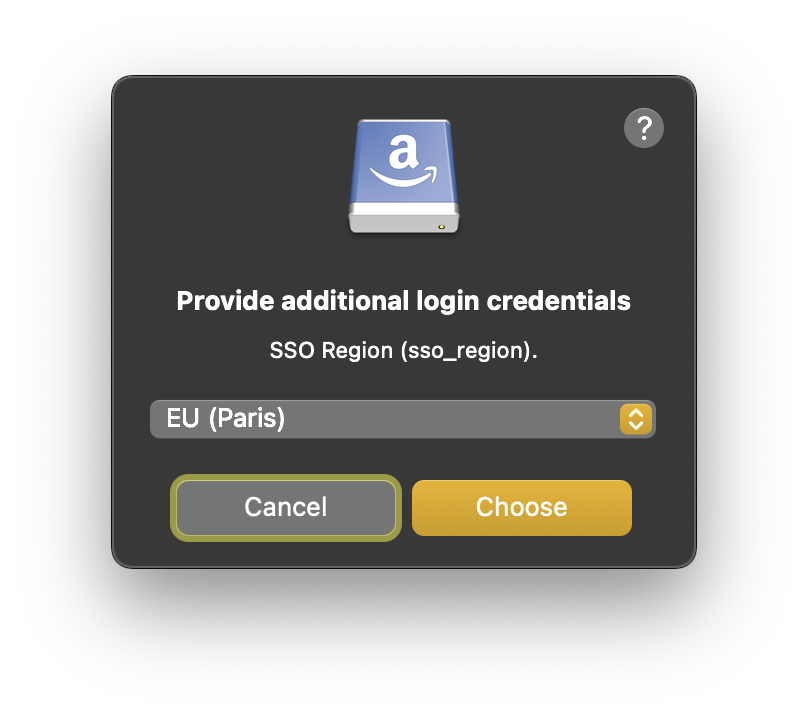
Choose the SSO Region when prompted.
Warning
Must match the region selected when setting up IAM Identity Center in AWS.
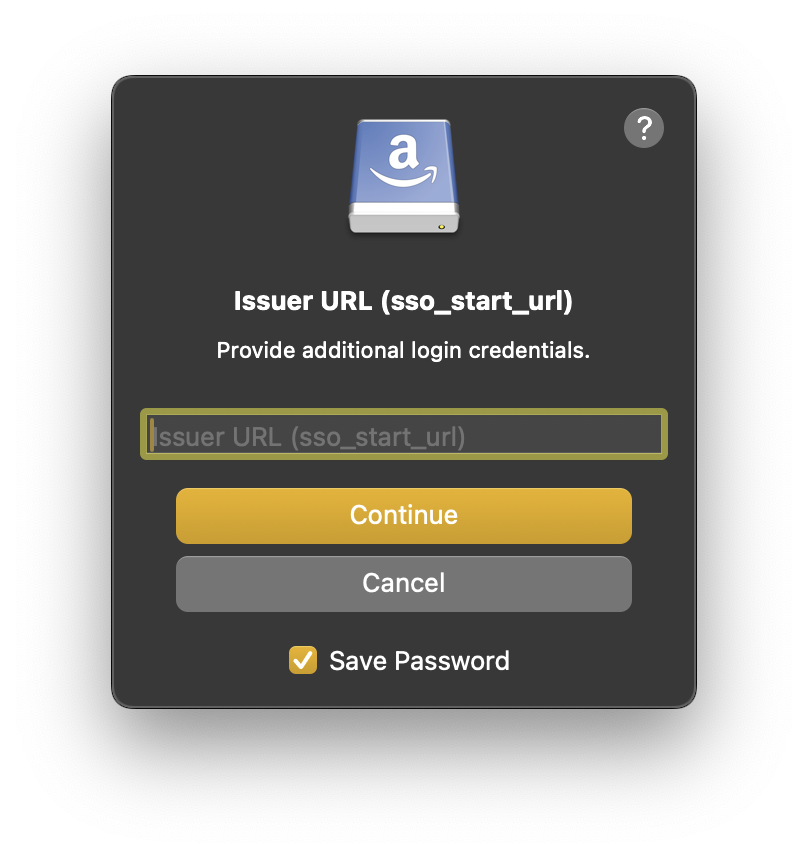
Enter the Issuer URL or AWS Access Portal URL when prompted for the SSO start URL.
Login to AWS or your third-party identity provider followed by choosing Allow access to Cyberduck or Mountain Duck in the AWS access portal.
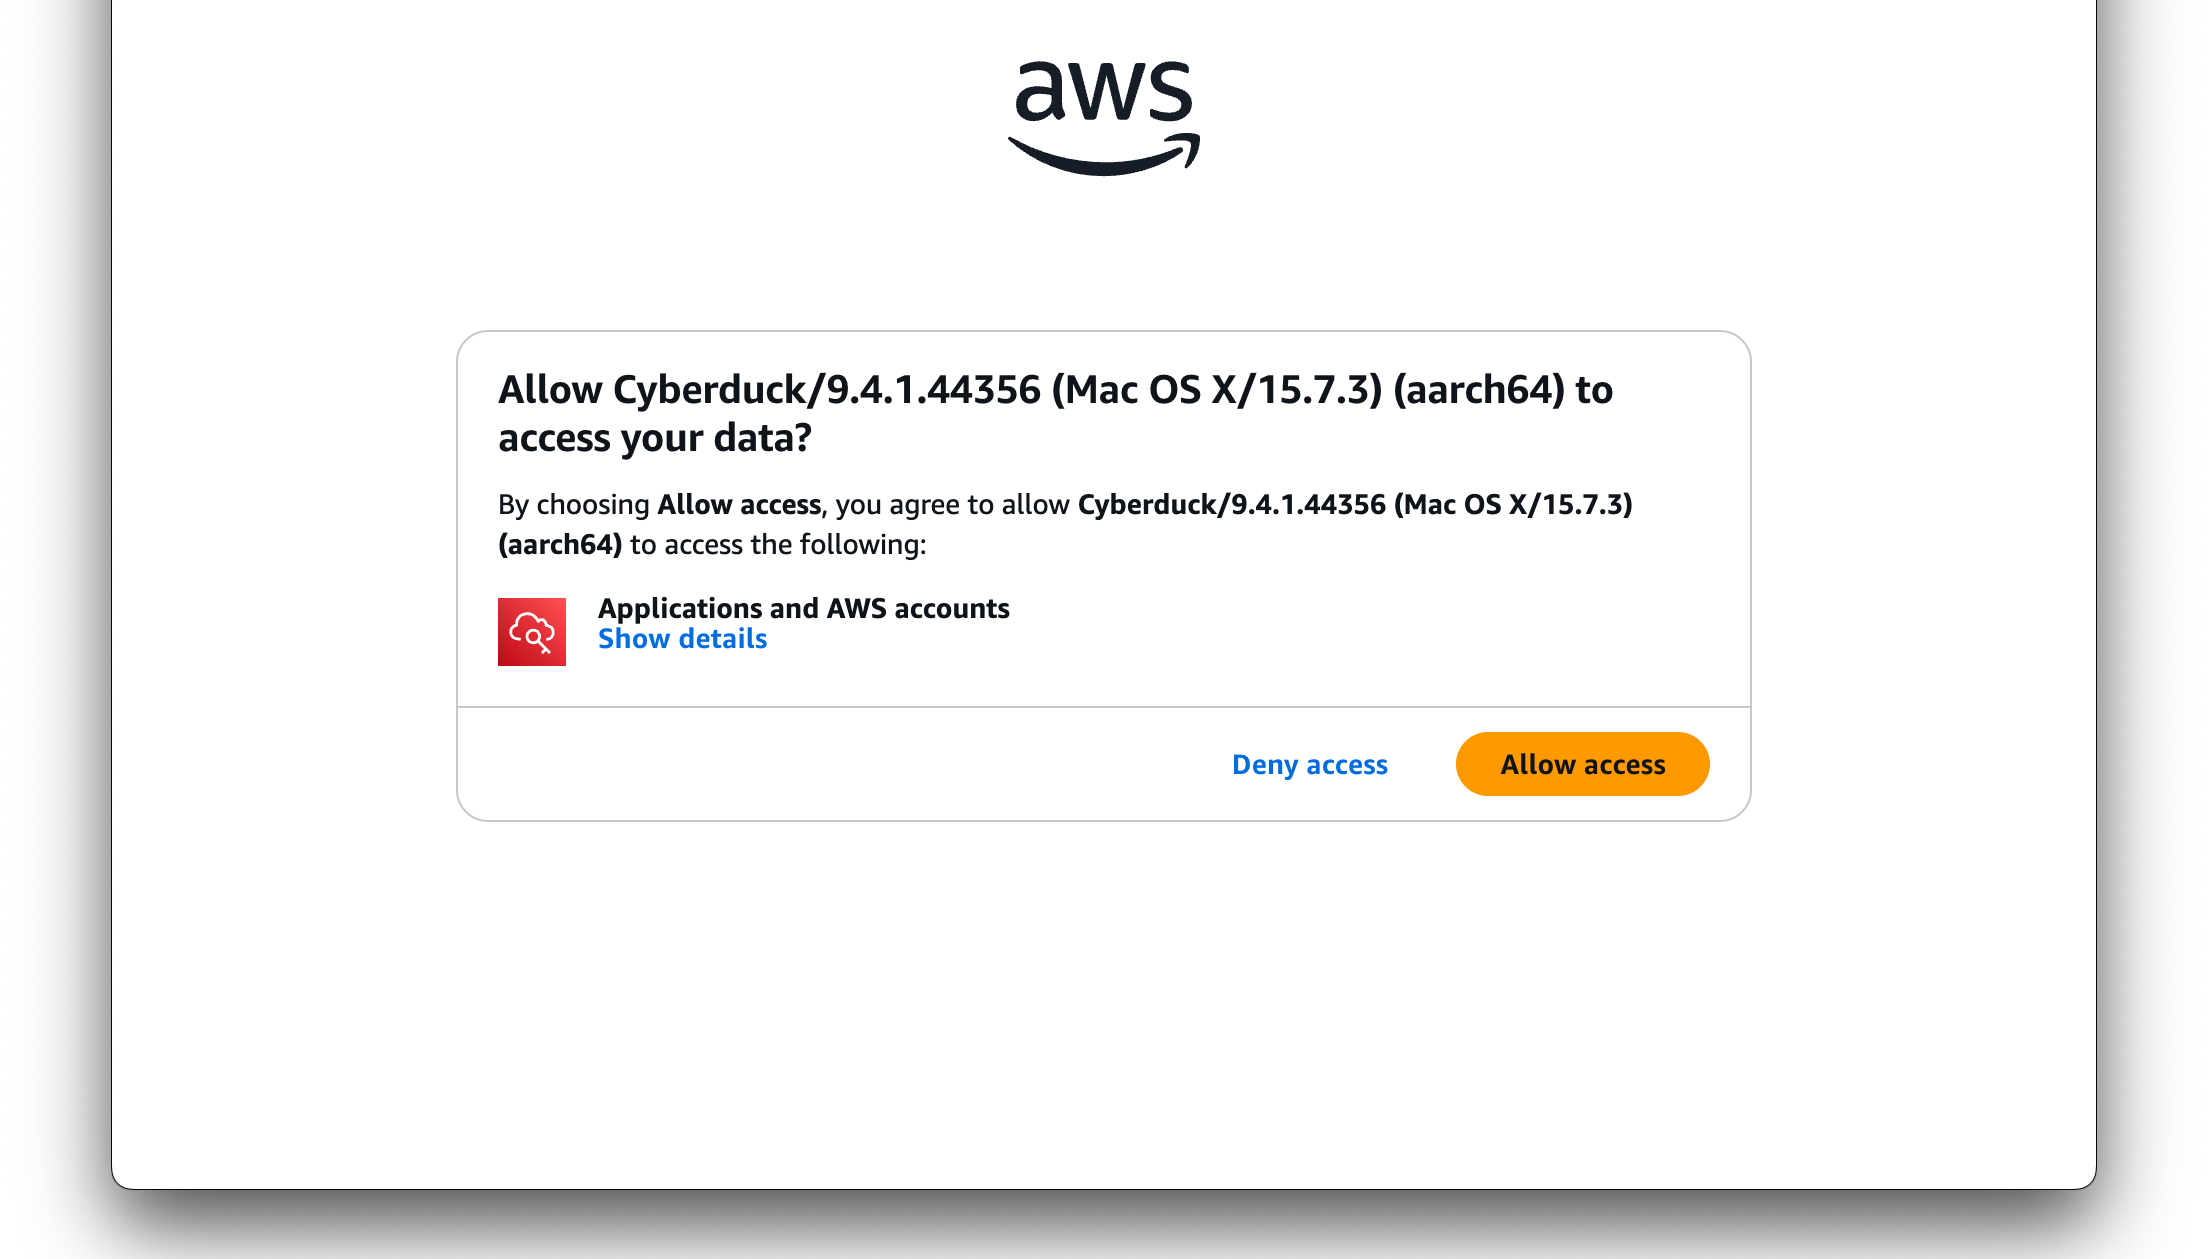
Tip
The web browser will prompt to open Cyberduck or Mountain Duck afterwards to continue with the connection setup. You can close the web browser window after confirming access.
Choose the AWS Account ID when prompted.
Tip
This step is skipped if only a single AWS account is configured with your AWS IAM Identity Center instance.
Choose the Permission set name when prompted previously configured.
Tip
This step is skipped if only a single AWS account is configured with your AWS IAM Identity Center instance.
Troubleshooting
Start URL region does not match service region
Make sure to select the region matching the location in the issuer URL of the AWS IAM Identity Center.