Configure Public Key Authentication for SFTP using yubikey-agent
Public-key authentication using yubikey-agent SSH Agent allows you to connect to a remote server without a password. Instead of passwords, you use a pair of keys (private and public) for authentication. The private key is kept secret, while the public key is shared with the server.
Authenticate SSH connections with the SSH private key stored on a YubiKey. Setup yubikey-agent, a seamless ssh-agent for YubiKey.
Install
yubikey-agentusing Homebrew on macOS.brew install yubikey-agent
Launch YubiKey Agent
brew services start yubikey-agent
Run setup to create a new SSH key on the YubiKey
🔐 The PIN is up to 8 numbers, letters, or symbols. Not just numbers!
❌ The key will be lost if the PIN and PUK are locked after 3 incorrect tries.

Choose a new PIN/PUK:
Repeat PIN/PUK:

🧪 Reticulating splines...

✅ Done! This YubiKey is secured and ready to go.
🤏 When the YubiKey blinks, touch it to authorize the login.

🔑 Here's your new shiny SSH public key:
ecdsa-sha2-nistp256 AAAAE2VjZHNhLXNoYTItbmlzdHAyNTYAAAAIbmlzdHAyNTYAAABBBEX52rEAXMPs7m75uvckZwhV6k+pUFRADkSaGhhALt484hBAP8C1XOHISJzAF46oWgVopDXP/4BD58UwkeMDSJc=

Next steps: ensure yubikey-agent is running via launchd/systemd/...,
set the SSH_AUTH_SOCK environment variable, and test with "ssh-add -L"

💭 Remember: everything breaks, have a backup plan for when this YubiKey does.
Specify the socket the YubiKey SSH Agent is listening in your OpenSSH configuration file
~/.ssh/config.Host * IdentitiesOnly yes IdentityAgent /opt/homebrew/var/run/yubikey-agent.sock
Copy the SSH public from the output and save it to a file:
echo "ecdsa-sha2-nistp256 AAAAE2VjZHNhLXNoYTItbmlzdHAyNTYAAAAIbmlzdHAyNTYAAABBBEX52rEAXMPs7m75uvckZwhV6k+pUFRADkSaGhhALt484hBAP8C1XOHISJzAF46oWgVopDXP/4BD58UwkeMDSJc=" > ~/.ssh/yubikey.pub
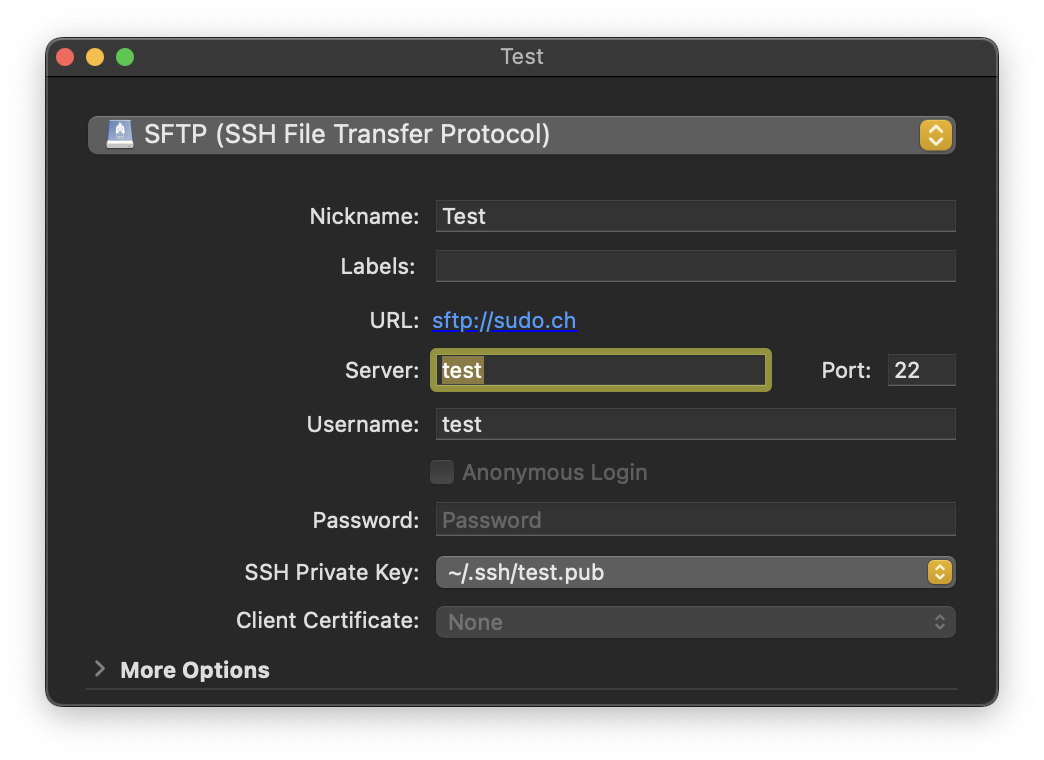
Add a new Bookmark in Cyberduck or Mountain Duck. Enter the alias from your OpenSSH configuration or the hostname in Server. You do not need to set a value for Password.
Tip
The public key selected allows to identify the corresponding private key retrieved from the SSH agent avoiding Too many authentication failures.
Add the public key to the
authorized_keysin your~/.sshdirectory on the server running OpenSSH.ssh-copy-id -fi ~/.ssh/yubikey.pub user@remotehost
Verify the agent is running and can access keys on your YubiKey
SSH_AUTH_SOCK="/opt/homebrew/var/run/yubikey-agent.sock" ssh-add -l
256 SHA256:etGxFZK2D+AFJITkoaAm5BoxHqQlZfIWkhnSMMjGZ2I YubiKey #15203057 PIV Slot 9a (ECDSA)
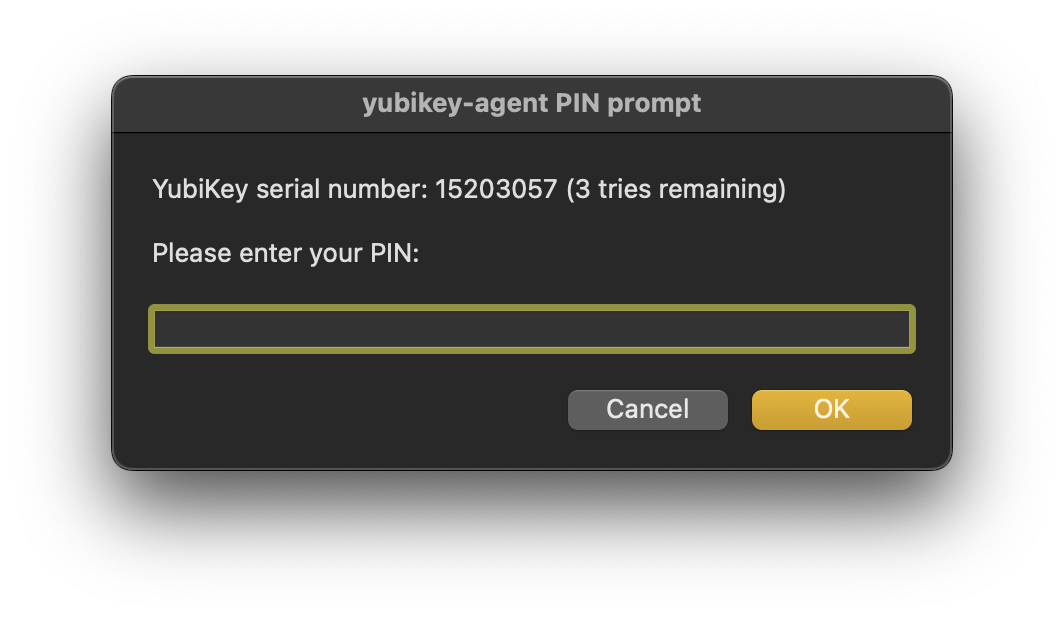
Connect to the server and enter the PIN for the YubiKey to unlock the private key:
Important
Touch the YubiKey when it blinks to verify human interaction and allow to proceed the connection.
Warning
If you receive a prompt to login using a password with the message Unknown key format for file yubikey.pub. Please contact your web hosting service provider for assistance, there was a failure accessing the private key. Ensure the SSH agent is running.